
Wall art guide & infographic
Picking artwork for your home isn’t an easy process. There are millions of choices out there that are awesome and choosing one (or two… or three… or a thousand) is very time consuming. Or maybe you’re in love right away with that one artwork from Thomas Heaton, Chris Burkard, Ted Hesser, … or many others.
After sifting through the abundance of choice you’ll have to decide how big of a print you want. Another life or death choice in this gigantic realm of options. Size does really matter when talking about this subject. To help you visualise different sizes a bit better, I have created this infographic.

Obviously, size relative to you as a person, should not be the main reason you buy a 240x80cm print. The location where you want to hang your wall art is the most important factor here. Are you hanging it on a wall the size of the one they’ve built in China, or on the wall of the smallest room in the house? There is sort of a guideline to help you calculate the ‘ideal size’. Multiply the width of your wall by 4/7 and you’ll have a good idea how big or small your wall art should be. The same principle can be used for a multitude of small prints hung together.
A different guideline helps you calculate the ‘ideal size’ when hanging wall art above furniture. Multiply the width of your furniture by 2/3 and you’ll have some notion of how big you could go. Once again I should remind you that these are guidelines and not laws. If you have an amazing (free standing) wall, you could go for a mural print/photo wallpaper which can turn out to be simply amazing. You would require a very high-resolution file though to bring out the best of it.

When the choice has been made & the prints have arrived, you’ll want to hang your art at the right height. Once again there are guidelines to help you out. These are tried and perfected rules used by museums all over the world (although they vary a bit from place to place). Basically, you should hang your artwork so that the top third is above your eye level and the bottom two thirds below. On average that’s about 1.60m (5.2 feet). If you happen to be rather grand or petite, adjust accordingly. Same goes for hanging art in the rooms of your children… and be prepared to change the height every few years if you want ‘perfection’ (or ask them to stop growing, you’ll never know that they might listen).

If you are hanging a collection of frames you can have fun and let the creative juices flow. There are only two real guidelines here and that’s balance & flow. Try to even out the visual ‘weight’ of it all to prevent a weird and unexplainable feeling that the whole thing might fall down, explode, turn around on its axis, swim, … The second thing is to create a certain flow or rhythm. Let music be your guide. Or let math be your guide for the mathematical brained people.

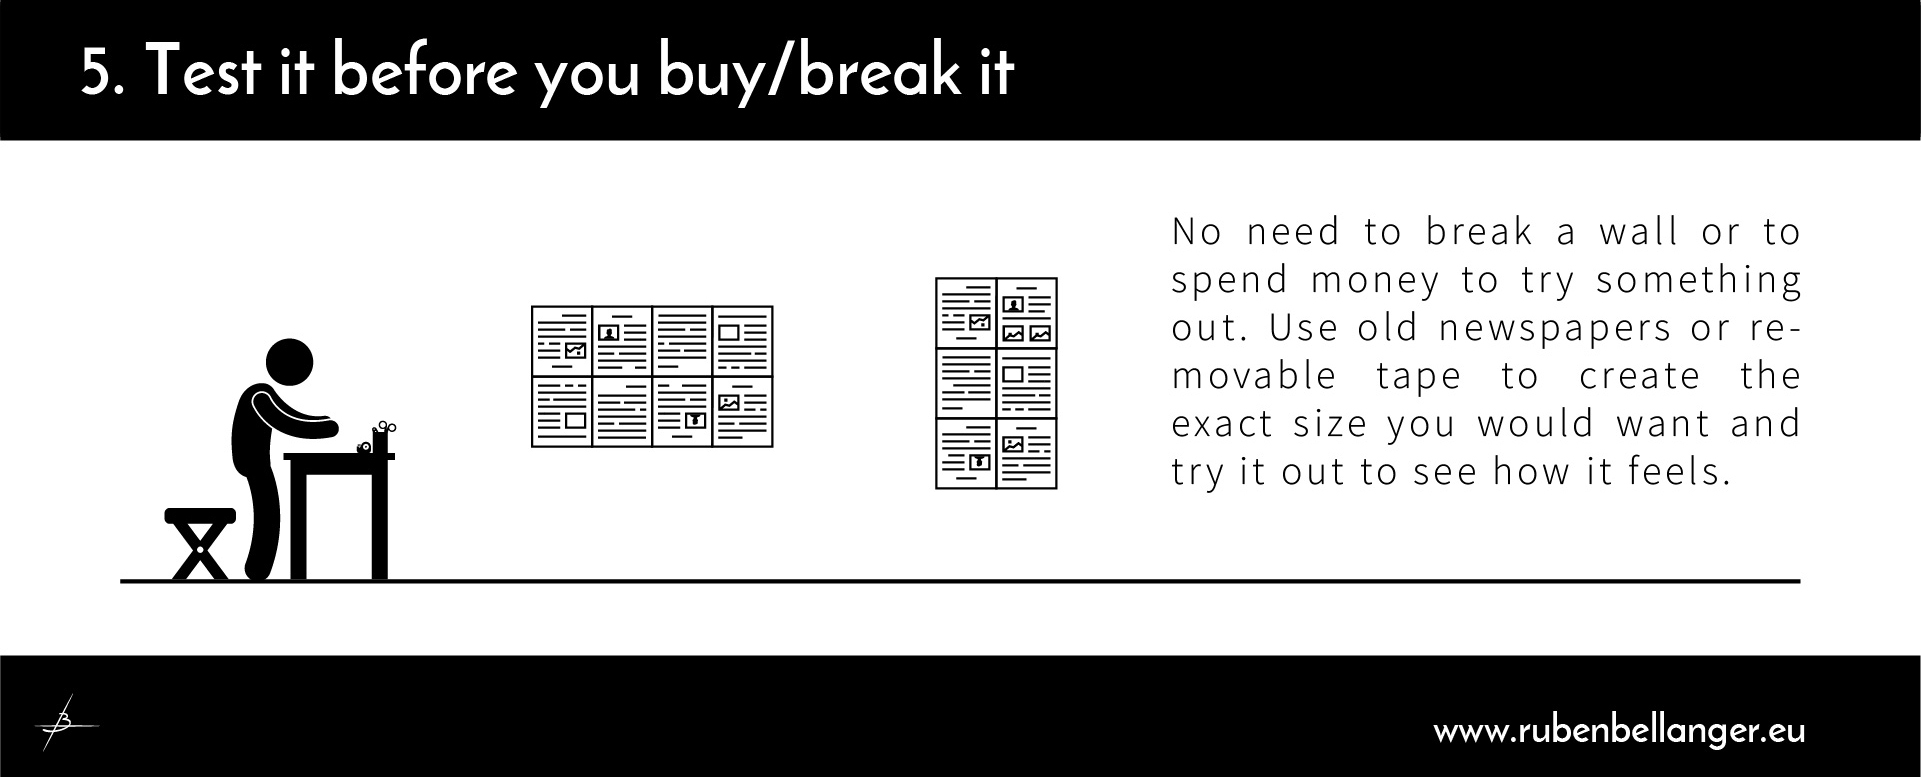
After figuring out all that… Are you sure about everything? Are you ready to drill your wall to bits to find the right spot? I didn’t think so. There are tons of things you can do to test out how it will look and feel. If you want you can even Photoshop it. And remember that there are lots of alternatives available to drilling holes. 3M has some amazing hooks & strips, ArtiTeq has a multitude of rail systems and there are a lot of DIY options available.
So I hope this helps and I’m always curious to see what you have created in your home. Share your final result on social media and tag me (@rubenbellangereu ). And last of all, be proud and enjoy every second you notice your eyes drifting off to your new artwork!
Ruben

Stories from photoshoots, explanations, images, experiences, lessons learned,… you’ll find them here.
Blog only in dutch until august 2018.